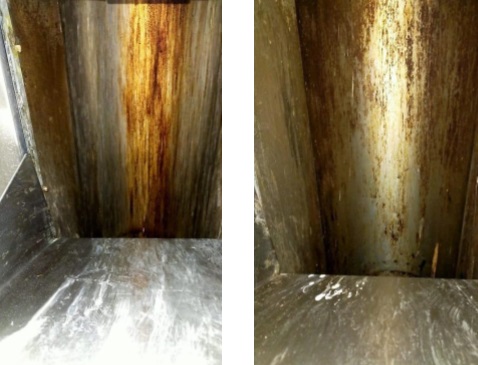
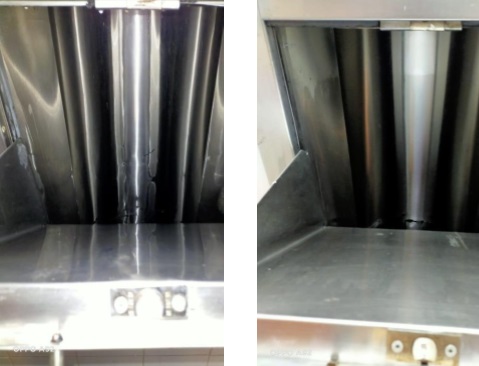
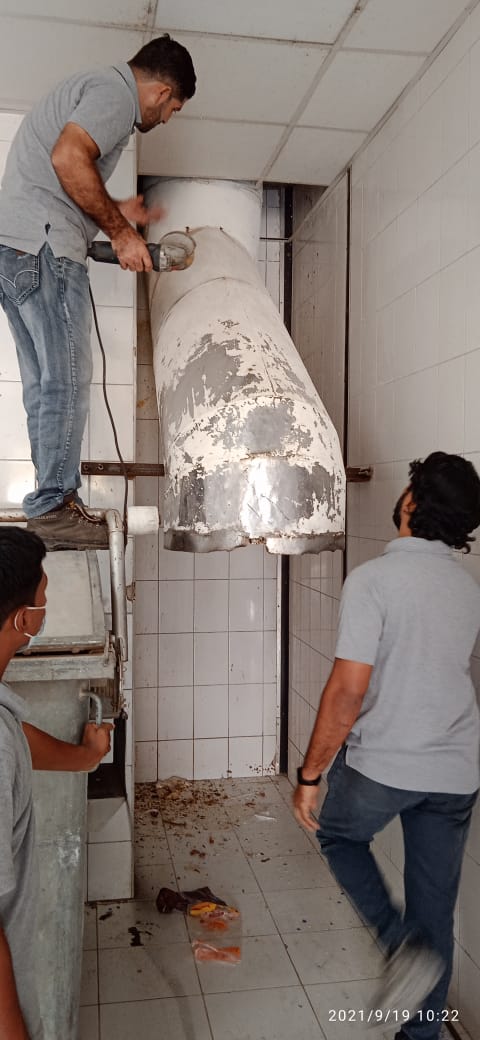
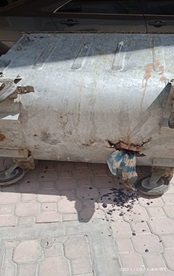
Gallery BeforeAfterBeforeAfterBeforeAfterBeforeAfterBeforeAfterBeforeAfterBeforeAfterBeforeAfterBeforeAfterBeforeAfter